How To Fix the Bare Gaps in Your Christmas Tree
Learn how to fix the bare gaps in your Christmas tree for a more filled-out-looking tree this Christmas season.
If your Christmas tree has gaps and bare spots, this idea might help your tree look fuller and more joyful.
The Problem
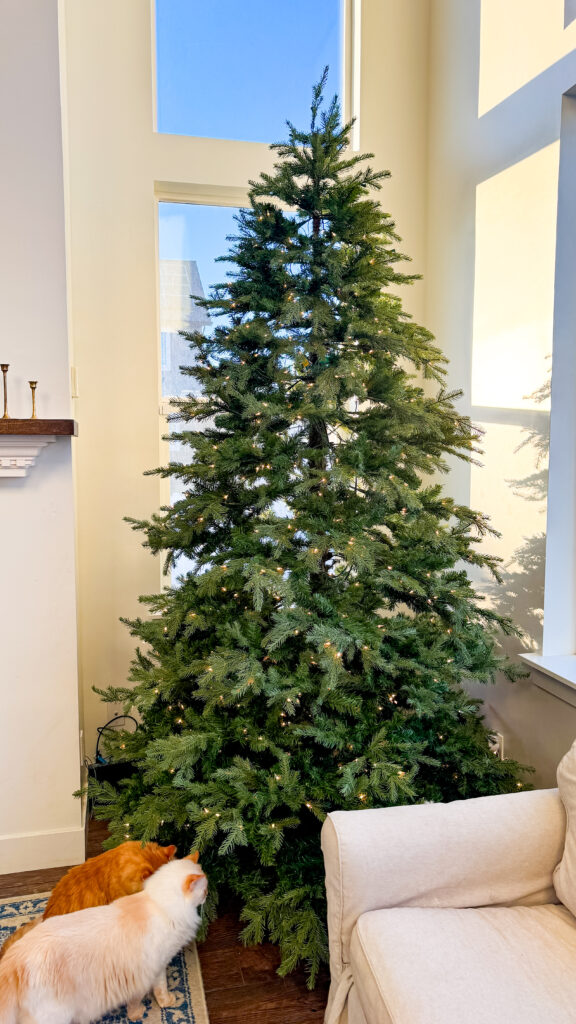
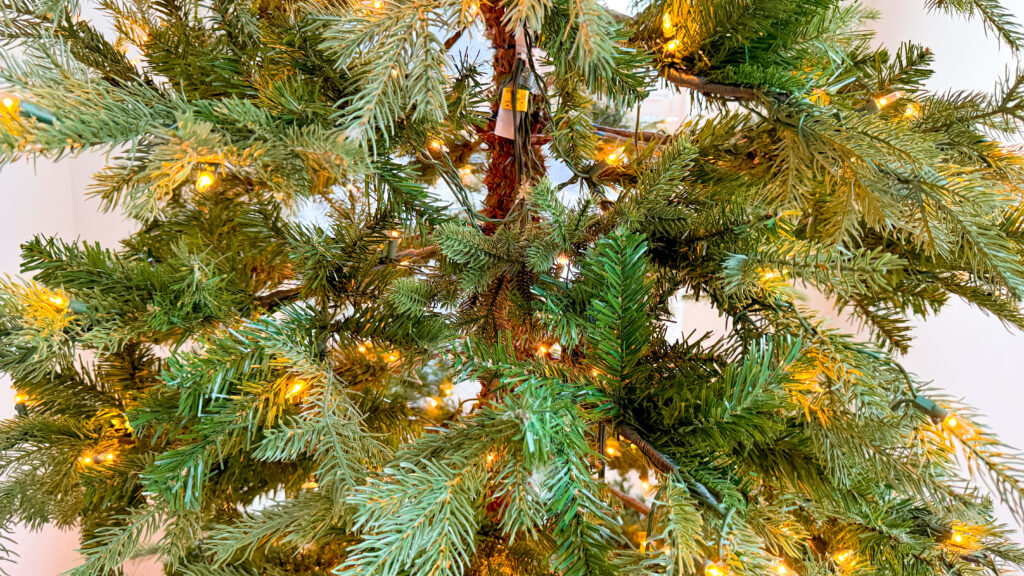
Christmas trees are beautiful and they add such a vibrant expression of the Christmas spirit to the Christmas holiday season. However, Christmas trees (both artificial and fresh-cut trees) can sometimes have large, unsightly gaps and bare spots in their branches. These bare-looking gaps leave gaping holes that expose less appealing parts of the tree, such as the wires of built-in light, the metal frame of artificial trees, or the trunk and bare branches in real trees). This can leave artificial trees looking a bit “cheap” or real trees looking a little sickly, depending on the species of fir chosen as a Christmas tree.
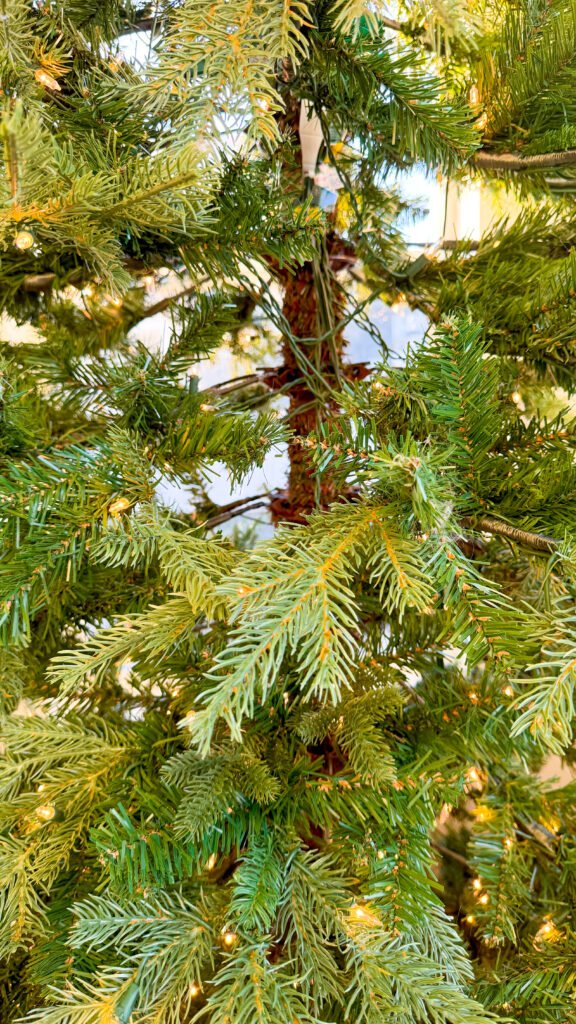
The Problem Solved!
How to Fix the Bare Gaps in Your Christmas Tree
Additional Artificial Pine Branches to Fix the Bare Gaps in Your Tree
Add in additional artificial pine branches
I went searching for possible solutions on Amazon.com and found these little artificial pine branches and sprigs. This was so exciting to me! I knew exactly what I was going to do to fix our bare Christmas tree problem. I ordered one set of artificial pine branches. The set of branches that I originally ordered came as a pack of 200 artificial branches. I also later found a set of 300 artificial pine branches and purchased those, too.
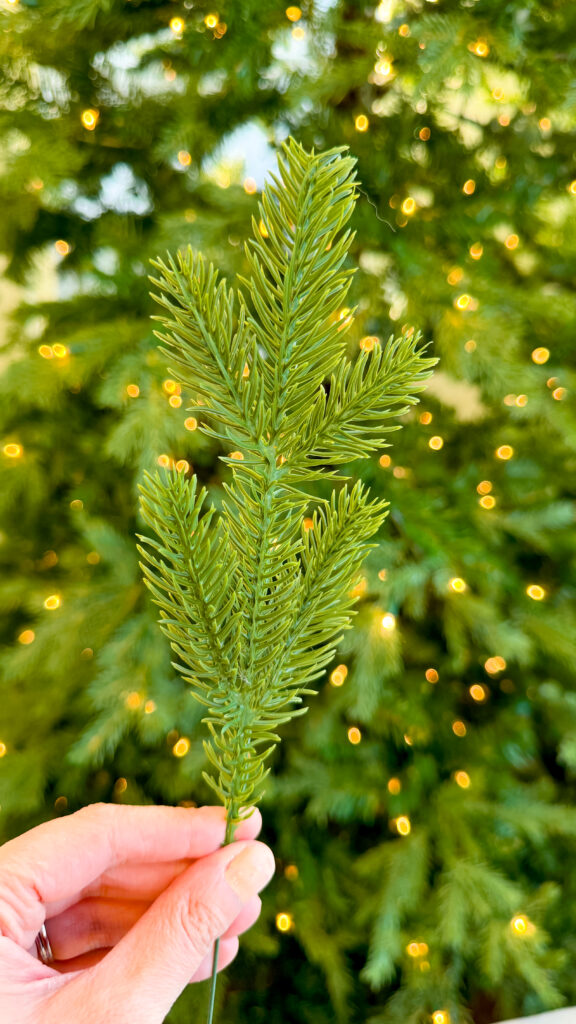
Twist the added pine branches around the existing tree branches
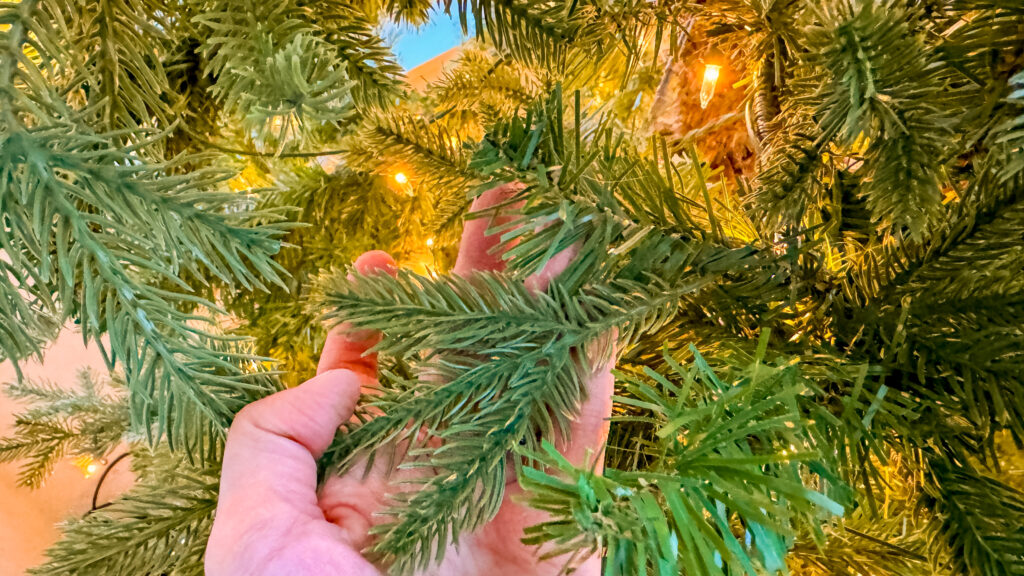
I took these little artificial pine branches and started twisting the long wire ends around the existing branches of our tree. I twisted each around any branches that were bare or smaller branches or sprigs that were near bare areas.
Move around and position the added pine branches
I was able to move those smaller branches and sprigs around slightly and position them so that the new branches that I had just twisted onto the existing branches could help fill in the bare spots in the tree.
I kept twisting and working in more new branches in any area that needed filling in or that looked a little too much like a “fake” tree.
Note: Yes, my Christmas tree is a “fake” / artificial tree, but I hold the philosophy that just because an tree might be an artificial one, it doesn’t mean it has to look like it 😉
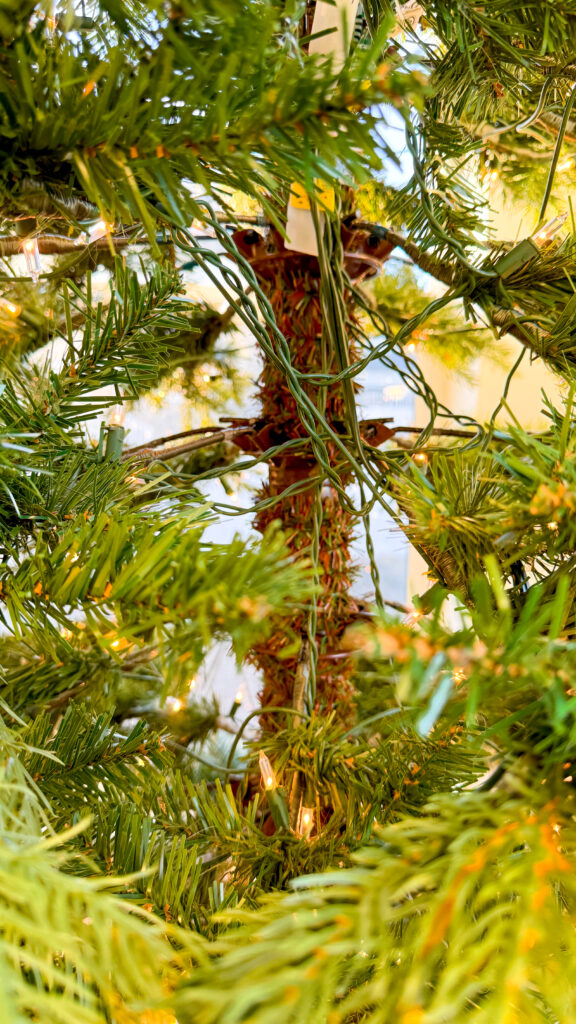
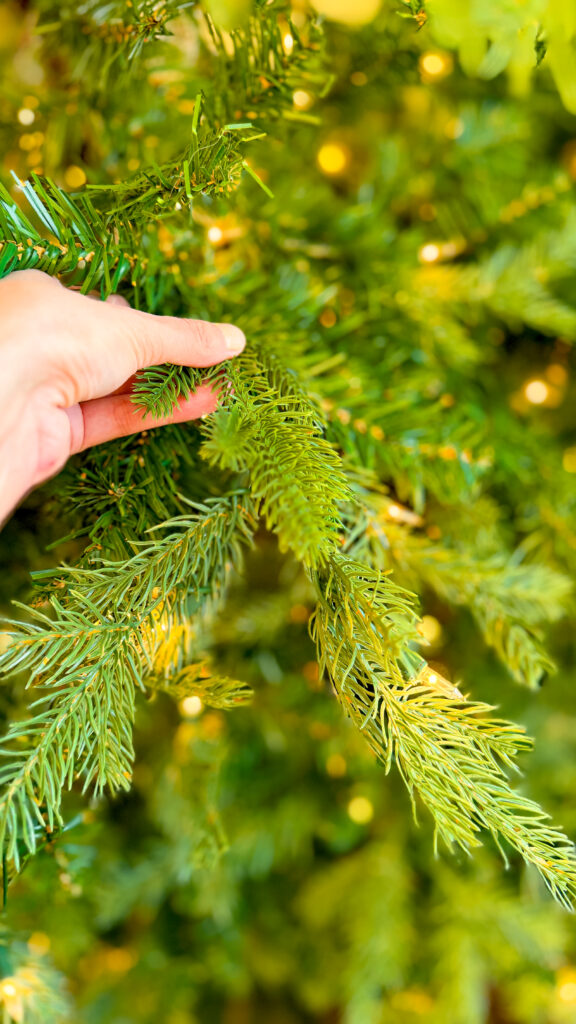
How I Made My Artificial Christmas Tree and the Additional Branches Look More Natural
I moved each existing branch and each newly added branch around a little until each looked more natural in its placement, the area each was in was looking or starting to look full, and the tree, as a whole, looked right to me.
I also gently bent and curled and turned each of the existing artificial pine branches and also the newly added ones so that they each had a more natural shape to them, and looked less stiff and artificial.
The Results I Had with My Tree
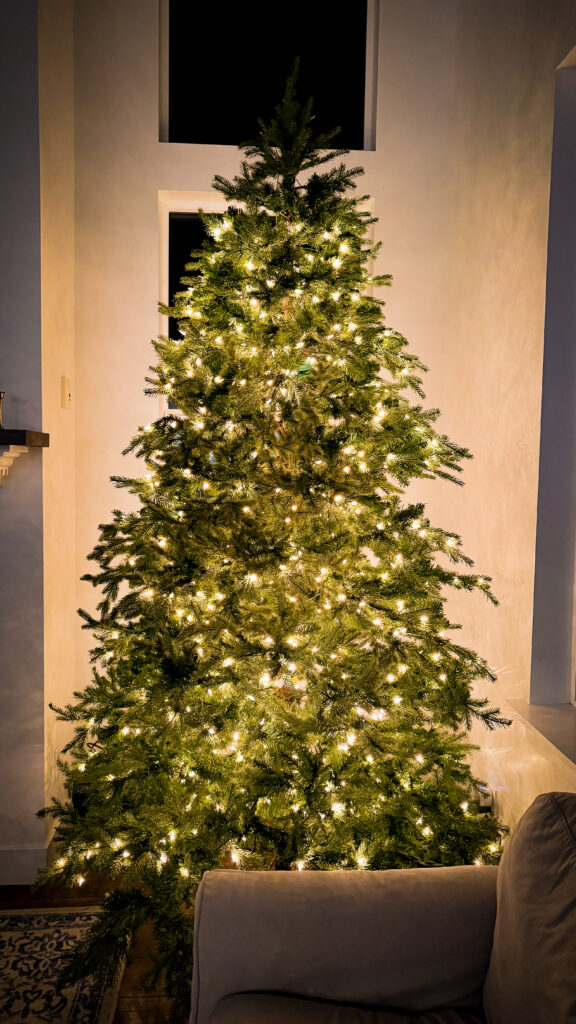
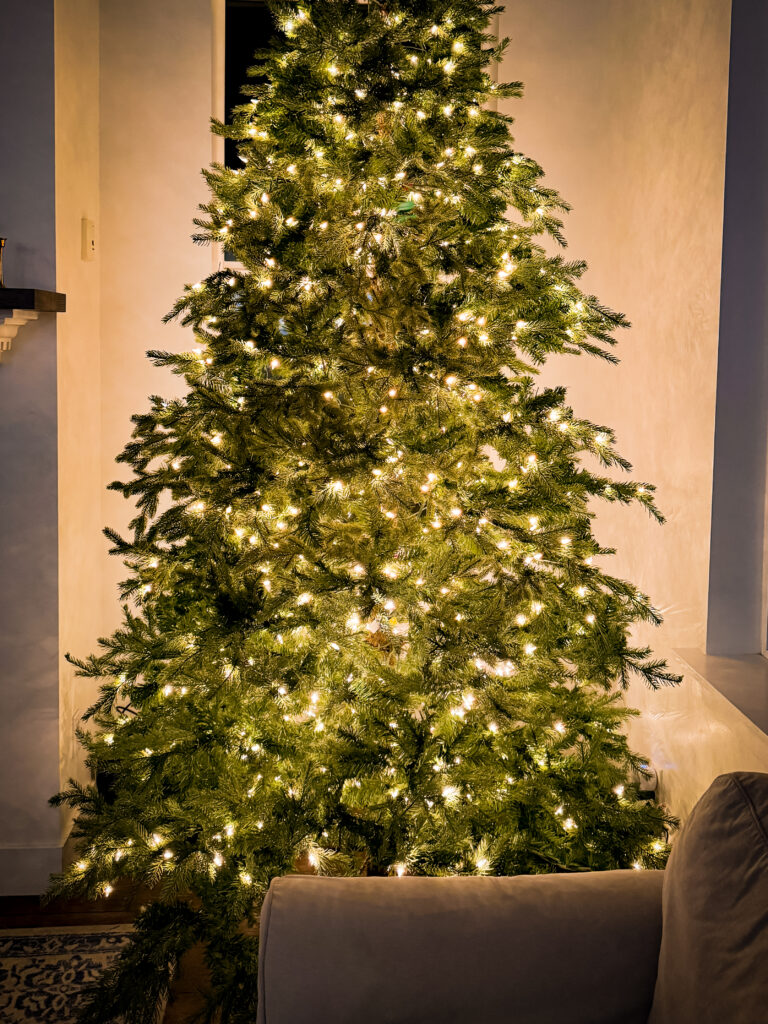
Here is what the final result was. I took a picture in the evening when the tree was all lit up. The previously present gaps look so much less noticeable to me now. It looks full, and (dare I say) almost like a real tree!
Actually, from a few feet away, my tree now looks more “real” than many of the real Christmas trees that I’ve had in the past (they were all very bare, too, even though they were real trees!)
View My Tree (Before & After)
Pin it for later!
Use this image to “pin” this blog post to Pinterest to save it for later or find it again when you’re ready to make use of this post!
Not sure how to “pin”? You can find the Pinterest Save Extension from Pinterest here.

